Docs are current as of version 2.0.1
For a summary of all the new 2.0 features, see here!
What is Genome MIDI Sequencer (GMS)?
GMS is a pattern-based MIDI sequencer. It turns your iPad into a mobile brain for your MIDI gear. With GMS you can sequence single patterns or an entire song. GMS handles pattern changes in realtime so you can mix it up DJ style without breaking the groove. GMS sends and receives MIDI clock messages so you can use it alongside your drum machines and arpeggiators. It also exports and imports general MIDI files so it's easy to integrate with desktop apps.
Uses for GMS
GMS is fun, easy and portable. Genome is the perfect app to sequence your synthesizers and drum machines. Genome works equally great with other iOS apps as it does with hardware modules.
Genome works with any app or device that supports CoreMIDI.
Genome also will allow you to make music on your iPad by sequencing several iOS apps like NLog PRO, Sunrizer and Modrum. See our list of recommended apps.
Network MIDI support is included for communicating with a desktop computer or another iOS device. Your experience will depend on your OS / drivers and networking hardware, so we cannot provide support for configuration issues. If you're on windows though, I would recommend checking out Copperlan's network MIDI manager.
Setup
To edit Genome's setup, click the Setup icon in the top bar on the main page. It's the icon that looks like a Gear:
General
On the general tab, you will find a couple options. The first is MIDI Echo. This allows you to have Genome echo any input it receives to whatever channel you are currently editing in the Pattern Editor. You can have Genome listen for a specific input channel or all channels. This feature is most useful when using a MIDI controller to send input to several other MIDI devices.
MIDI
By default, GMS will attempt to connect to any MIDI devices it detects. Whenever a new device is detected GMS should start sending MIDI to it right away. GMS will attempt to save your connection status, so if you choose not to send to a particular device or App, Genome should remember this for next time. If you need to edit your devices or if you want to do Network MIDI, then click on the MIDI icon (it's the first icon on the left in the Top Bar; it's shaped like a MIDI plug). On this page you can edit your settings and toggle which devices GMS is sending MIDI to.
NOTE: Whenever the device setup changes (such as plugging in a USB device), the MIDI icon will flash yellow.
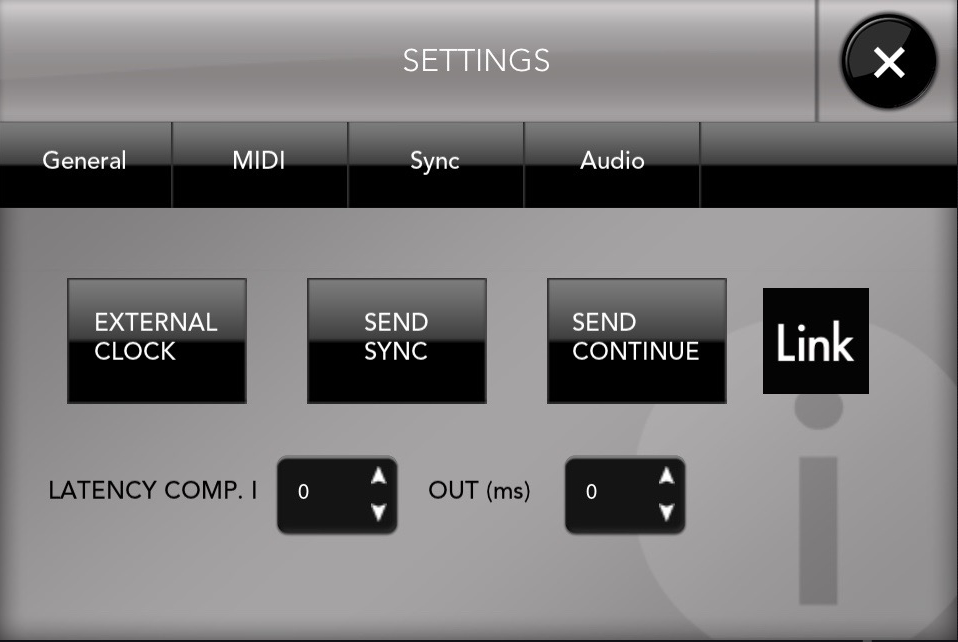
If you wish to slave GMS to external timing sources (such as a drum machine), you can toggle 'External Clock'. When this is on, GMS will not do anything until it starts receiving Clocks.
Audio
Right now the only Audio setting you can change is audio latency. Audio latency determines the delay between when audio is generated internally and when you actually hear it. All devices have some latency. The amount of latency determines how much audio processing can occur so when you use a lower latency you get better timing, but you can't run as many audio apps. Use a low latency if you want to record your on-screen playing in another app or a higher one if you want to be able to run more apps together.
Note: All apps share the same audio latency, so setting this is a global change. Some apps may have issues with different latencies and it's up to the developers of those apps to fix any issues.
Note: If you're using Audiobus, then odds are that you'll want to use that to change latency as it will override any latency settings.
Sync
On this panel you can adjust standard MIDI sync settings. You can choose to slave Genome to an external clock and toggle whether Genome sends sync and continue messages.
Generally you should not need to change the Latency Compensation settings, but if timing seems off, you can attempt to compensate for it using these
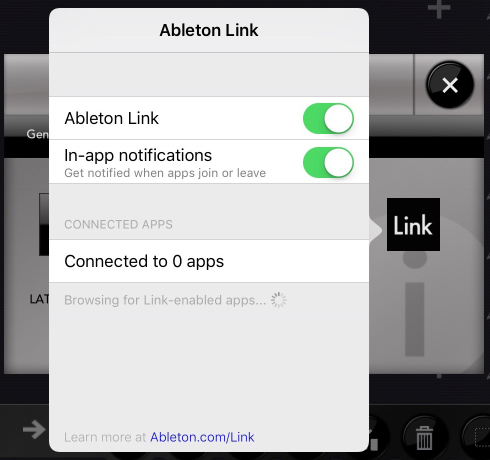
You can also Toggle Ableton Link on the Sync page. If Link is turned on then it will be used to set the Tempo in place of any MIDI Sync messages (even if external sync is enabled). If you are using Audiobus, then Link will be enabled by default. Tap the Link icon to modify your Link settings.
Compatible Gear
MIDI interfaces for the iPad are changing all the time, but Genome should support any iPad dock or device that is CoreMIDI compatible. It can also be used with the Camera Connection Kit and a USB midi device, provided the USB device does not draw too much power (or can be powered externally) and supports Class Compliant MIDI. This includes MIDI controllers and MIDI interfaces.
Compatible Apps
Please see our list of compatible apps to see which apps are the best to use with Genome. Also see our virtual MIDI tutorial.
Tutorials
Sequencer (main page)
Sequencer Page
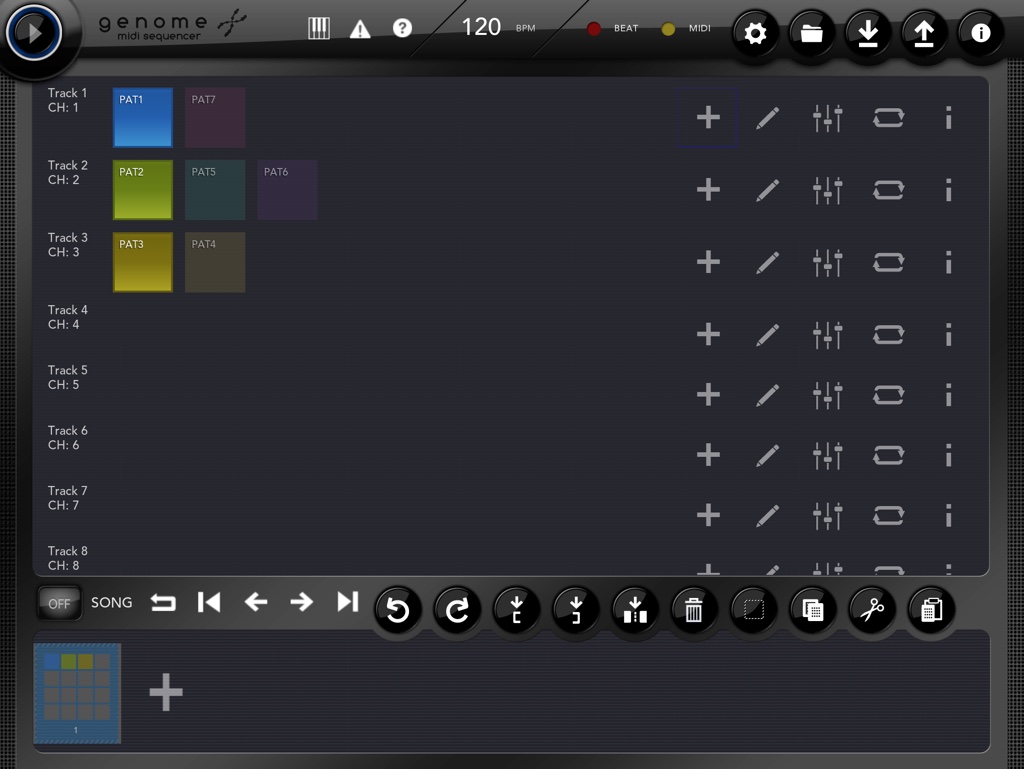
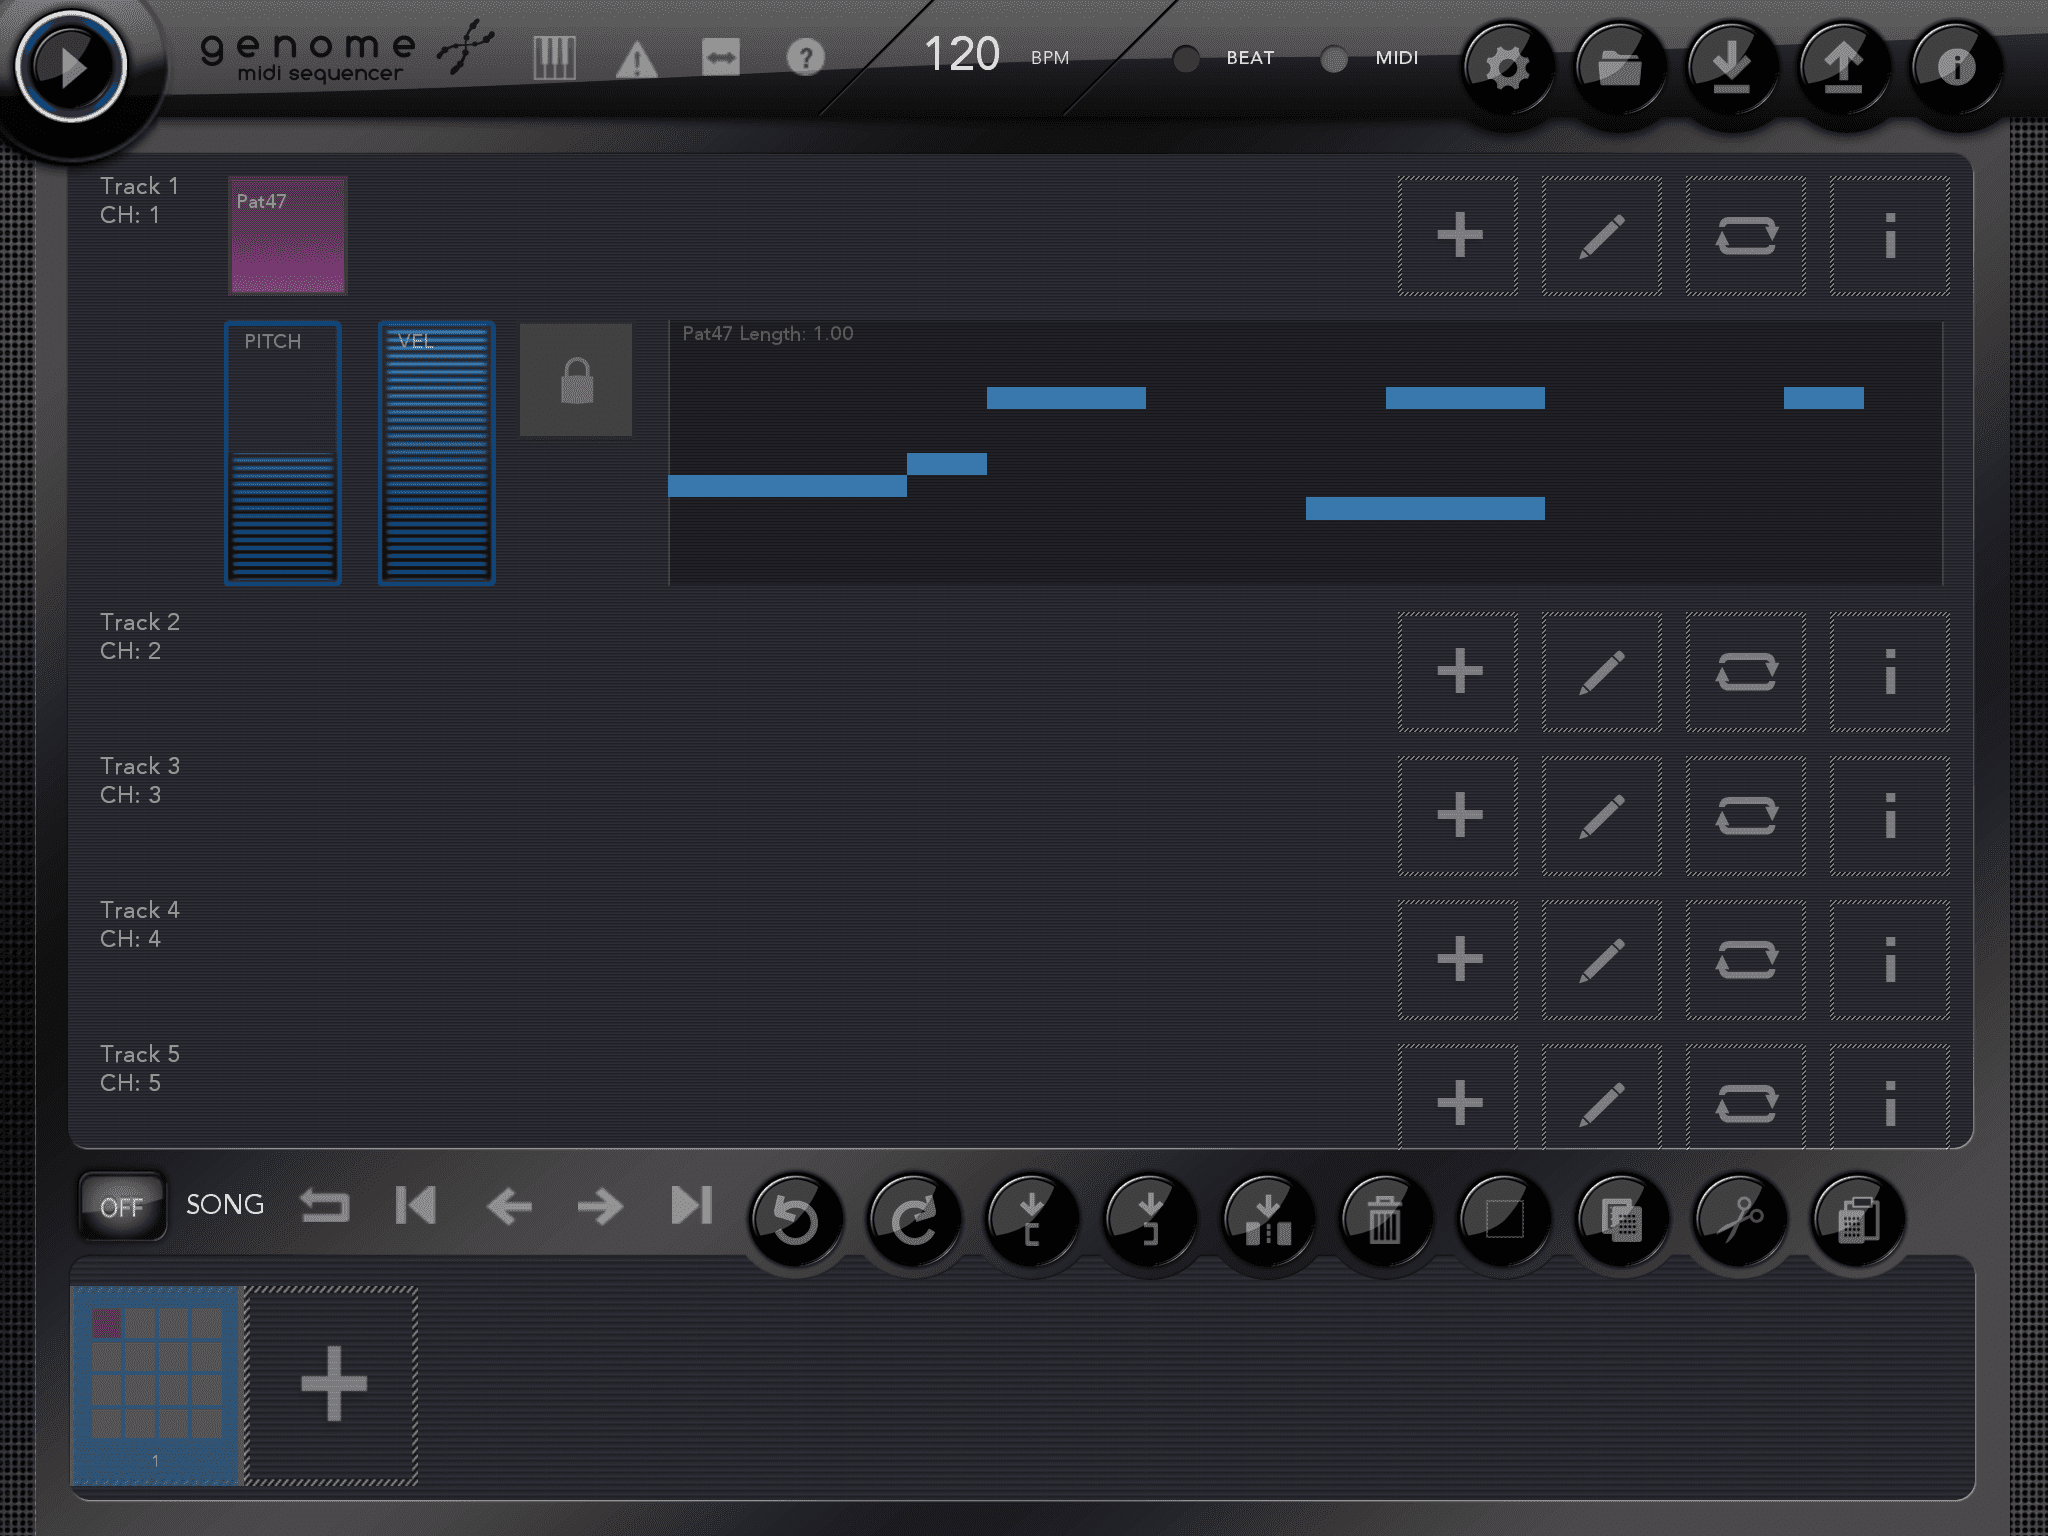
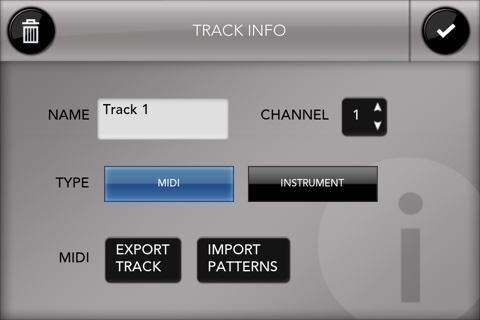
The sequencer page is where you can create new patterns and choose which ones are currently playing. GMS can handle playing up to 16 tracks of MIDI. Each track can have any number of patterns but only one can play at a time. The tracks are displayed in the main area, running vertically. You can swipe this area to scroll the tracks.By default each of the 16 tracks corresponds to the 16 MIDI channels. You can edit which channel a track is sending by clicking 'i' (info) for that track. You can have multiple tracks sending on the same channel if you so desire.
To create patterns press the '+' icon. Once created, you can tap a pattern to turn it 'on' (meaning it's currently playing). To edit the playing pattern, press 'Edit'. You can also tap and hold any pattern to start editing it (even patterns that aren't playing).
Re-arranging Patterns
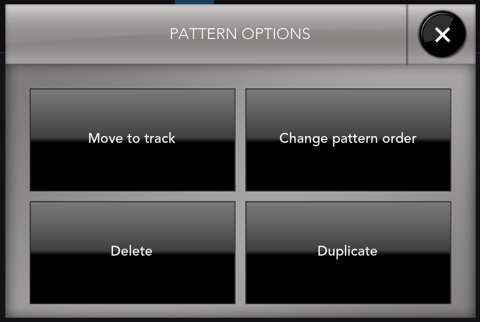
Patterns can now be re-arranged by tapping and holding on a pattern
Track Icons
Add - Adds a new pattern to the track.
Edit - Opens the currently selected pattern in the Pattern editor. Note: you can also long-tap a pattern to move it to another track, duplicate it, re-arrange it or delete it.
Remix pad - The remix pad is intended for live use. By tapping with two fingers on the remix pad you can loop small sections of the currently selected pattern. You can also transpose the pattern by up to 7 steps using the first slider on the left. If you have set a scale for the pattern, then the transpose function will keep all notes in the scale. The second slider will control the volume of the notes by modifying their 'velocity'. Pressing the 'lock' button will keep the loop settings even after you let go of the remix pad. (see picture below)
Song Info Panel
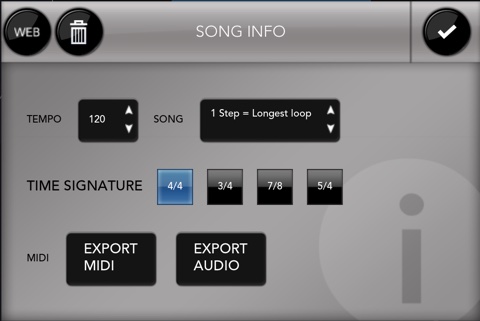
Name: The name for this song
Song Mode: Each song step = Longest loop or 1 bar. 1 bar is the legacy song mode, and it's recommended that you use the newer mode.
BPM: Set the tempo of the song
Time Signature: 3/4, 4/4, 5/4, or 7/8
MIDI Export: You can save this song (all tracks) as a Standard MIDI file for use on the desktop (or vice versa). Exported files are available via iTunes file sharing.
Audio Export:Use this to export your current song (assuming you are using the Instrument Rack) as an audio file. New songs go in the
/tracksfolder, and can be shared using the File Manager. This does not export audio produced in other apps.
Trash Can - Clear the song
Web - Takes you to this help page
Small topbar icons
![]()
- (From left to right:)
- Midi Learn - Pressing this activates MIDI Learn mode. All learnable things (Patterns, Song steps, play buttons, etc) will get a blue square around them. Elements that are already bound will get a yellow border. Tap on one and then you can pick what MIDI event you want to bind it to via the MIDI learn Popup. Any events received while the popup is up will set the dialog appropriately. So if you want to bind the pattern to a note, press that note while the popup is active.
- Panic - sends an 'all notes off' message immediately.
- Fast Switch - Fast switch to any apps that have registered with the OMAC App fast switch service.
- Help - takes you to this help page
'Song' editor
At the bottom of the sequencer page is the Song editor. You will see an on / off button next to the word 'Song'. When this is off (the default), the cubes at the bottom function as snapshots of all the patterns that are currently playing. You'll notice that each cube is made up of 16 squares. These squares correspond to the 16 tracks. The color of each square corresponds to the color of the playing pattern. This way you can easily identify your snapshots. Taping the cubes switches between snapshots.
When song mode is 'On', GMS will play the cubes in succession, allowing you to create a song. Functionally it's no different than sequencer views in desktop music apps, just presented more compactly.
Song Editor Icons
From left to right.
- Undo
- Redo
- Set loop start
- Set loop end
- Insert step
- Delete step
- Select current loop
- Copy
- Cut
- Paste
NOTE: Insert will add a new step before the currently selected step. If you wish to paste at the end of the patterns, add a new pattern first.
Pattern Page
General Editing and Navigation
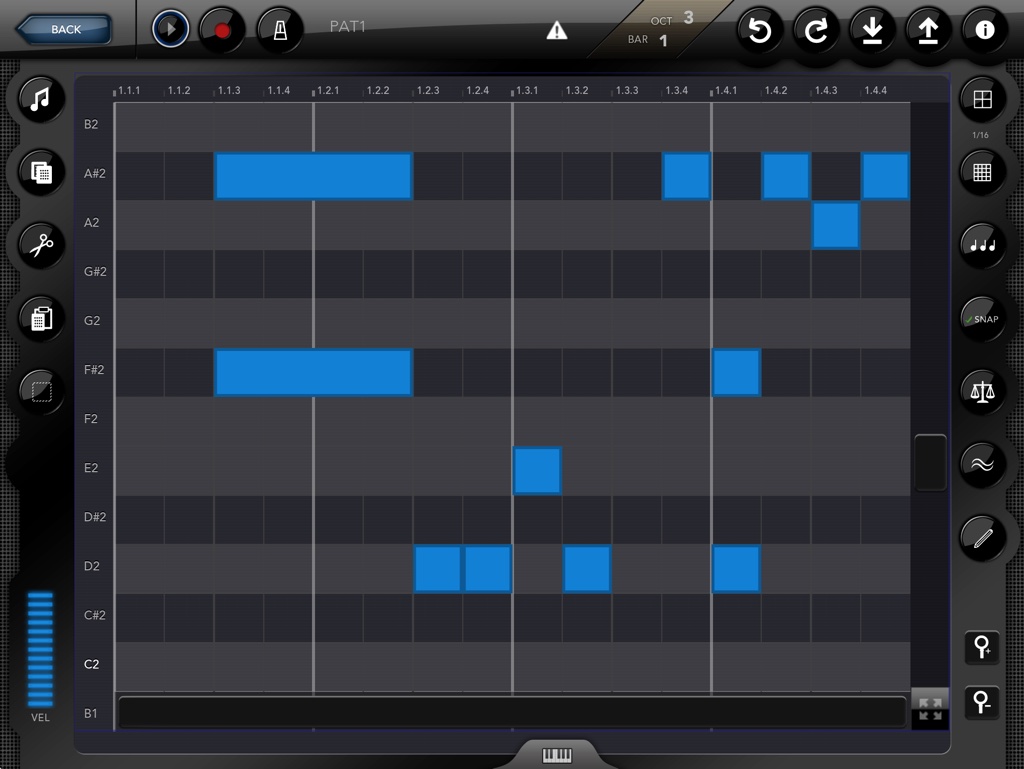
Edit patterns from the Pattern page. It features the standard 'Piano Roll' style interface; Time is on the X-axis, and pitch is on the Y-axis. Entering notes is easy - just tap to start drawing. A note can be as long as you want - when you reach the edge of the pattern, it will start scrolling to the right so you can keep making it longer. By default, patterns are one bar in length - press the 'i' button in the top right to edit the length of the pattern.
To change the velocity of notes use the 'Vel' slider on the bottom left. Changing this will cause newly drawn notes to have this velocity. If you have notes selected, it will modify their velocity.
!IMPORTANT: GMS uses two finger gestures for scrolling. Tap the Piano Roll area with two fingers in order to start scrolling. Swipe up, down, left or right to move the view area. The pinch gesture can be used for zooming in and out. If you would like the view to stay aligned to an octave / bar, there is an option for that in the General settings.
Whenever you begin a two-finger gesture, a 'mini-map' appears in the top right corner to help you navigate around the pattern. Blue squares indicate that notes are present in this octave and bar. You can also tap the mini map to quickly jump to that location.
Selection
To select notes, use the 'select' button on the left toolbar.
Long tap Menu
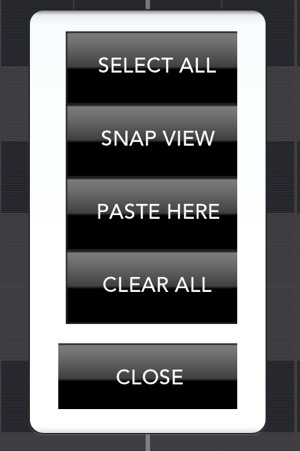
We have added a new menu that can be accessed by doing a 'Long Tap' on the pattern editor. This menu has several options such as 'select all' and 'paste here'.
Keyboard Control Surface
At the bottom of the Pattern page is a tab for the Keyboard control surface. The keyboard can make it easy to enter chords. When you tap a chord on the keyboard, those keys will be selected red. Tapping in the Piano Roll area will start to draw that chord (you'll be limited to just drawing the chord while the Control Surface is open).
CC Automation Mode
The top icon on the left toolbar switches between note mode and CC mode. In CC mode you can draw automation curves (just tap in the Piano Roll area). To switch the CC you are currently drawing and manage a list of CC's for that MIDI instrument, you can press the CC button (which replaces the 'Vel' slider in the lower left). This brings up a popup where you can add new CC's, edit CC's and save and load sets of CC's. The currently selected CC is indicated in blue.
Toolbars
Left Toolbar
From left to right:
- Back to Sequencer page
- Play
- Record
- Metronome
Top Bar
- Undo
- Redo
- Save
- Load
- Info
Left Toolbar

Right Toolbar

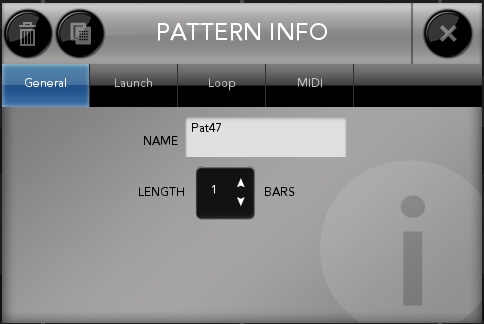
Pattern Info Panel
Top icons:
-
 Trash:
 - Delete this pattern.
 Copy:
Copy:- Duplicate this pattern
Tabs:
General
- Pattern Name:
- The name for this pattern.
- Length:
- Set the length of the pattern up to 32 bars in length.
Launch
Launch quantization: This controls when this pattern will start. For instance, selecting 2 bars, means that this pattern will change only on 2 bar boundaries. This is useful if you have a longer pattern and you want to make sure it finishes before switching.
NEW: - Legato Launch Quantization (it's at the end of the launch quantization list). This mode will allow the pattern to switch immediately, however playback position will be preserved that way you can toggle between two patterns quickly without interrupting playback. This is nice for live play.
One Shot: Selecting this turns off looping for this pattern. This will cause the pattern to play once then stop.
Loop
Partial Notes: Allows notes to extend past the end of the pattern or loop.
Hard Cut: When looping, always end notes at the end of a loop (This is the default behavior before version 1.1.2).
MIDI
MIDI Import / Export: You can save this single pattern as a Standard MIDI file for use on the desktop (or vice versa). Files are available via iTunes file sharing.
Scale Popup
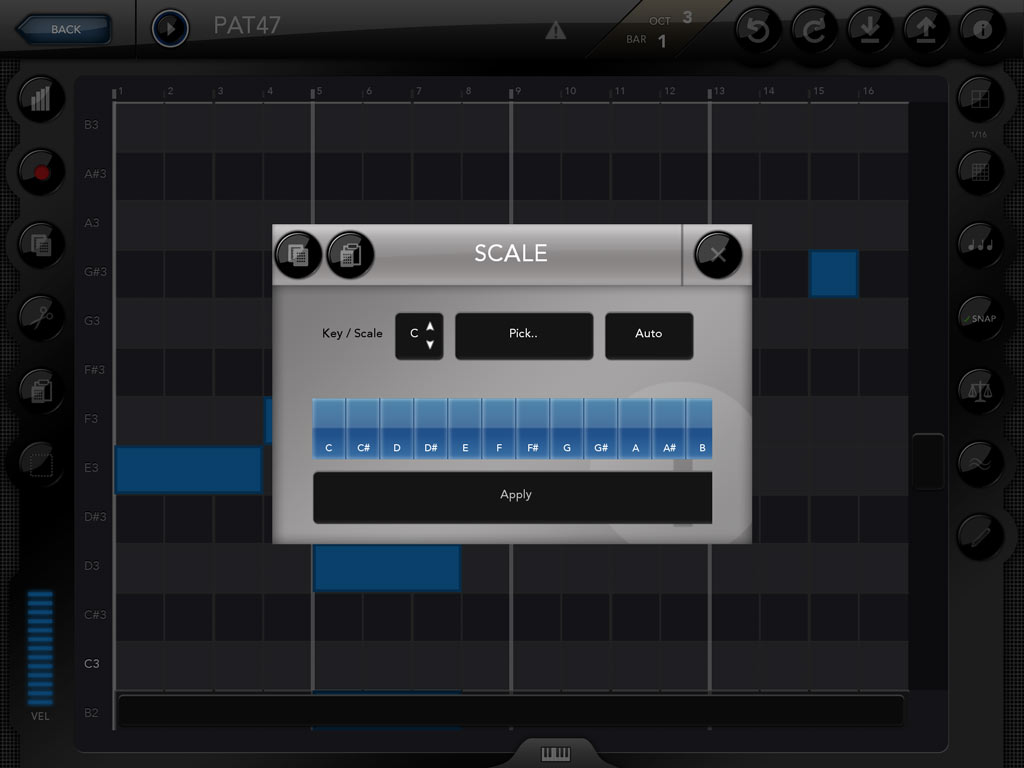
Changing the scale basically will hide any notes that are 'outside' of the scale. This will help you stay in the same scale as you are entering notes, and allows you to fit more notes on screen. It also makes it easier to transpose and stay in the same scale making it easier to make melodies that sound good. You can pick the key and a preset scale, or make your own.
Groove Popup
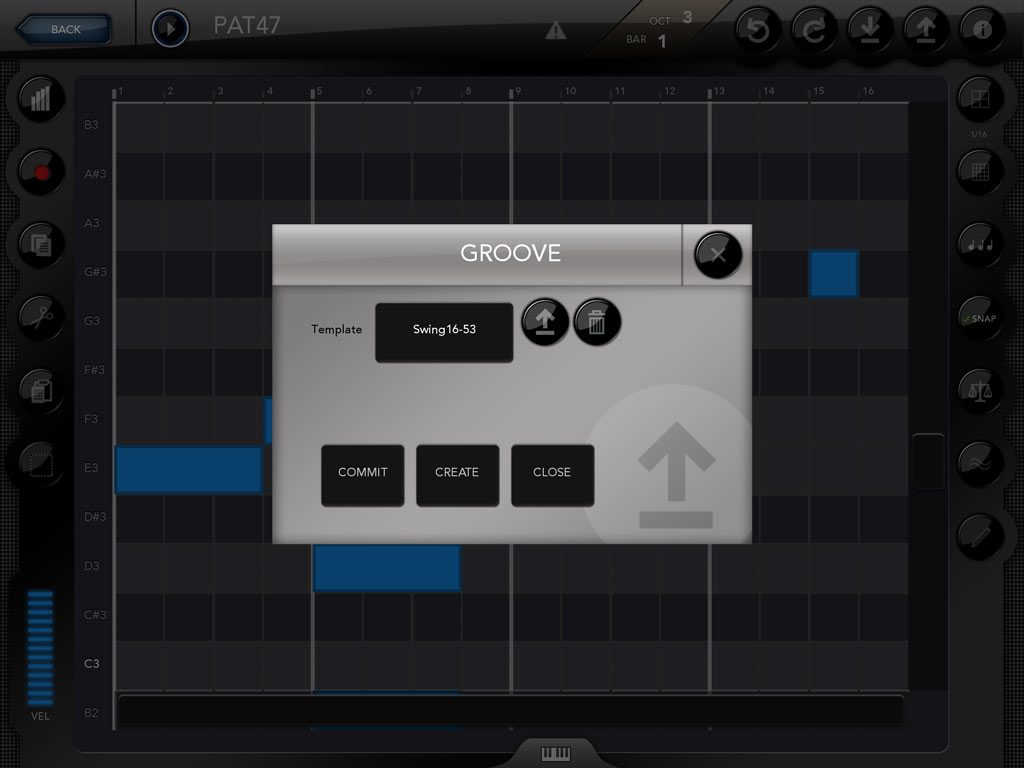
You can pick a groove for this pattern here. First load grooves into your song by pressing the load button. Then press the drop down to pick a groove. Currently we provide standard swing style grooves. You can also create your own groove from the current pattern. If you select this, genome will attempt to copy the time variations from the existing notes in the pattern. The ideal pattern to use would be a 16th note pattern. The best way to create a groove is to record yourself playing or to import a MIDI track that has a groove on it. Deleting a groove will remove it from the song (which means any patterns using it will be set to 'none'.). Applying a groove is non-destructive, meaning it won't affect your notes timing, except during playback. This means you can switch grooves without modifying your pattern. If for some reason you want to apply the groove template destructively, you can press the 'commit' button.
Audio Modules

To start using audio modules click the icon with the sliders next to the pattern edit button on the sequencer page. It will ask you if you want to change the type of the track from a MIDI track to an Instrument track.

- Edit button. Click to add new modules (Instruments and Effects).
- CPU usage / Left / Right Volume level. Red means clipping.
- Pattern edit. This is a shortcut to the pattern edit page.
- Record. Allows you to record knob tweaks into your currently playing pattern.
- Save / Load buttons. Use these to load presets.
- Tap and drag anywhere to scroll the module area.

- Tap the big plus icon to add new modules.
- Modules appear here and are automatically connected to the output. If you wish to change how they are connected, you can tap and drag. To re-arrange or delete modules, tap and hold on any module to enter 'arrange' mode. From here you can drag a module into the trash can at the bottom to delete it.
- Input. All instrument modules must be connected to the input so that they can be controlled by your patterns.
- Output. Each instrument or chain of instruments and effects must be connected to the output so that you can hear it.
See below for info on exporting audio
Audiobus - Experimental
We have added a basic Audiobus implementation to version 2.0 so that people will be able to access Genome's play button in other Audiobus enabled apps. Genome's audio modules can be routed to other apps as well (as a single output). This Audiobus implementation is still somewhat experimental but is being provided so that we can gather feedback.
Finally..
A great video from a user showing Genome sequencing multiple apps and devices:

